


How to Fix Automatic Repair Windows 10?

If you’ve ever encountered automatic repair on your Windows 10 computer, you know how frustrating it can be. Whether you’re stuck on a “Preparing Automatic Repair” loop or the repair failed altogether, you may feel helpless. Fortunately, there is a way to fix the automatic repair loop and get back to using your computer as usual. In this article, we’ll show you how to fix Automatic Repair Windows 10 and get your computer back up and running.
- Restart your computer and press F8 or Shift+F8 before Windows logo appears.
- Select Troubleshoot > Advanced Options > Automatic Repair.
- Follow the instructions on the screen to complete the repair process.
- Once the Automatic Repair process is completed, restart your computer and check if the issue is resolved.
How to Repair Windows 10 Automatic Repair?
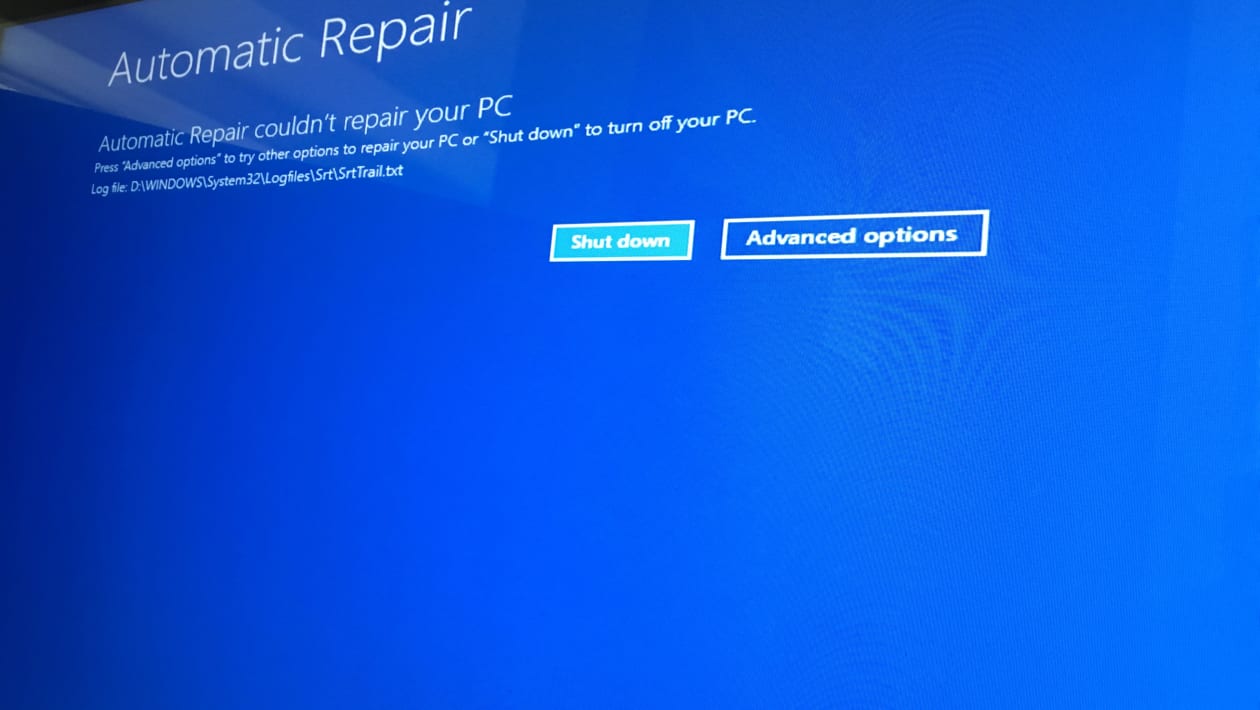
Automatic Repair is a feature of Windows 10 that helps you diagnose and repair any problems with your operating system. It can fix many common problems, such as blue screens, startup issues, and others. If you are having trouble with Automatic Repair, there are a few steps you can take to try and fix the issue.
The first step is to boot into Automatic Repair mode. To do this, start your computer and press and hold the F8 key while it is booting up. This will open the Advanced Boot Options menu. From there, select “Repair Your Computer” and then choose “Automatic Repair”. Once you have booted into this mode, you can attempt to diagnose and fix any issues.
The next step is to run a system scan. This will scan your computer for any errors or corrupt files that may be causing the issue. To run a system scan, go to the “Advanced Options” menu and select “System Scan”. Once the scan is complete, it will provide a report of any issues it has found. You can then attempt to fix these issues by following the instructions provided in the report.
Check System Files
Once you have completed a system scan, you should check your system files for any corrupt or missing files. To do this, go to the “Advanced Options” menu and select “Check System Files”. This will scan your system files and report any corrupt or missing files. If any files are found, you can attempt to fix them by following the instructions provided in the report.
Another option is to run a disk check. This will scan your hard drive for any errors or corrupt files that may be causing the issue. To run a disk check, go to the “Advanced Options” menu and select “Disk Check”. Once the check is complete, it will provide a report of any issues it has found. You can then attempt to fix these issues by following the instructions provided in the report.
Update Operating System
If your Automatic Repair is still not working as expected, you may need to update your operating system. This can be done by going to the “Advanced Options” menu and selecting “Update Operating System”. This will download and install any available updates for your system. It is important to keep your system up to date as this can help to prevent any future issues.
Restore System
If all else fails, you may need to restore your system. This will restore your system to an earlier point in time when it was working properly. To do this, go to the “Advanced Options” menu and select “Restore System”. This will open the system restore wizard, which will guide you through the process. Once the system restore is complete, you should be able to boot into Windows and use Automatic Repair again.
Reinstall Windows
If all else fails, you may need to reinstall Windows. This will erase all of your data and start your system from scratch. To do this, go to the “Advanced Options” menu and select “Reinstall Windows”. This will launch the Windows installation wizard, which will guide you through the process. Once the installation is complete, you should be able to boot into Windows and use Automatic Repair again.
Frequently Asked Questions
What is Automatic Repair Windows 10?
Automatic Repair is a self-repair tool that is included by default in Windows 10. It is designed to troubleshoot and fix common issues that may cause the computer to not start up correctly. It works by scanning the computer for errors and attempting to repair them. If it is unable to repair the problem, it will provide you with a list of possible solutions.
What Causes Automatic Repair Windows 10 to Start?
Automatic Repair can be triggered by a variety of issues including corrupted system files, incorrect BIOS settings, hardware conflicts, or virus infections. It may also be triggered if Windows 10 has not been shut down properly, or if the computer has encountered an unexpected shut down due to a power failure.
How to Fix Automatic Repair Windows 10?
The first step to fixing Automatic Repair Windows 10 is to restart the computer. If that does not fix the issue, then you can try running the System File Checker (SFC). This utility will scan for and replace any corrupted Windows system files. If this does not work, then you can try running the System Restore tool to restore the computer to an earlier date and time when it was working correctly.
What are the Advanced Options for Fixing Automatic Repair Windows 10?
The advanced options for fixing Automatic Repair Windows 10 include the Startup Repair tool, which can be used to scan for and fix errors that may be preventing the computer from starting up correctly. Other options include the Command Prompt, which can be used to manually troubleshoot and repair issues, and the System Image Recovery tool, which can be used to restore the computer to a previous state.
What Should I Do if Automatic Repair Windows 10 Fails?
If Automatic Repair Windows 10 fails to fix the issue, then you may need to try a more advanced repair option. This includes using the Command Prompt to manually troubleshoot and repair the issue. You can also use the System Image Recovery tool to restore the computer to a previous state. If all else fails, then you may need to perform a clean install of Windows 10.
What are the Benefits of Using Automatic Repair Windows 10?
Using Automatic Repair Windows 10 can save you a lot of time and hassle as it can quickly detect and repair any issues that may be causing the computer to not start up correctly. It can also help protect your computer against future issues by automatically scanning for and fixing any errors or corrupted system files. Additionally, it can provide you with a list of possible solutions if it is unable to repair the problem.
Fixing automatic repair loop on Windows 10 can be tricky, but with the right knowledge and patience, it can definitely be done. By following the steps outlined in this article, you can easily get your computer back to working order and avoid any further issues. Don’t forget to back up your data prior to attempting any kind of repair, as this could help save you from potential data loss. Keep in mind that you can always call a professional if the repair process proves to be too difficult for you to handle. With that, you can now confidently go ahead and fix the automatic repair loop on your Windows 10 computer.