


How to Record Audio on Windows 10

Are you looking for an easy way to record audio on your Windows 10 computer? Look no further! In this guide, we will walk you through the steps for setting up your computer to record audio, as well as tips for achieving the best sound quality. Whether you’re making voice recordings, streaming audio, or recording music, this guide will provide you with the information you need to get started. So let’s jump in and learn how to record audio on Windows 10!
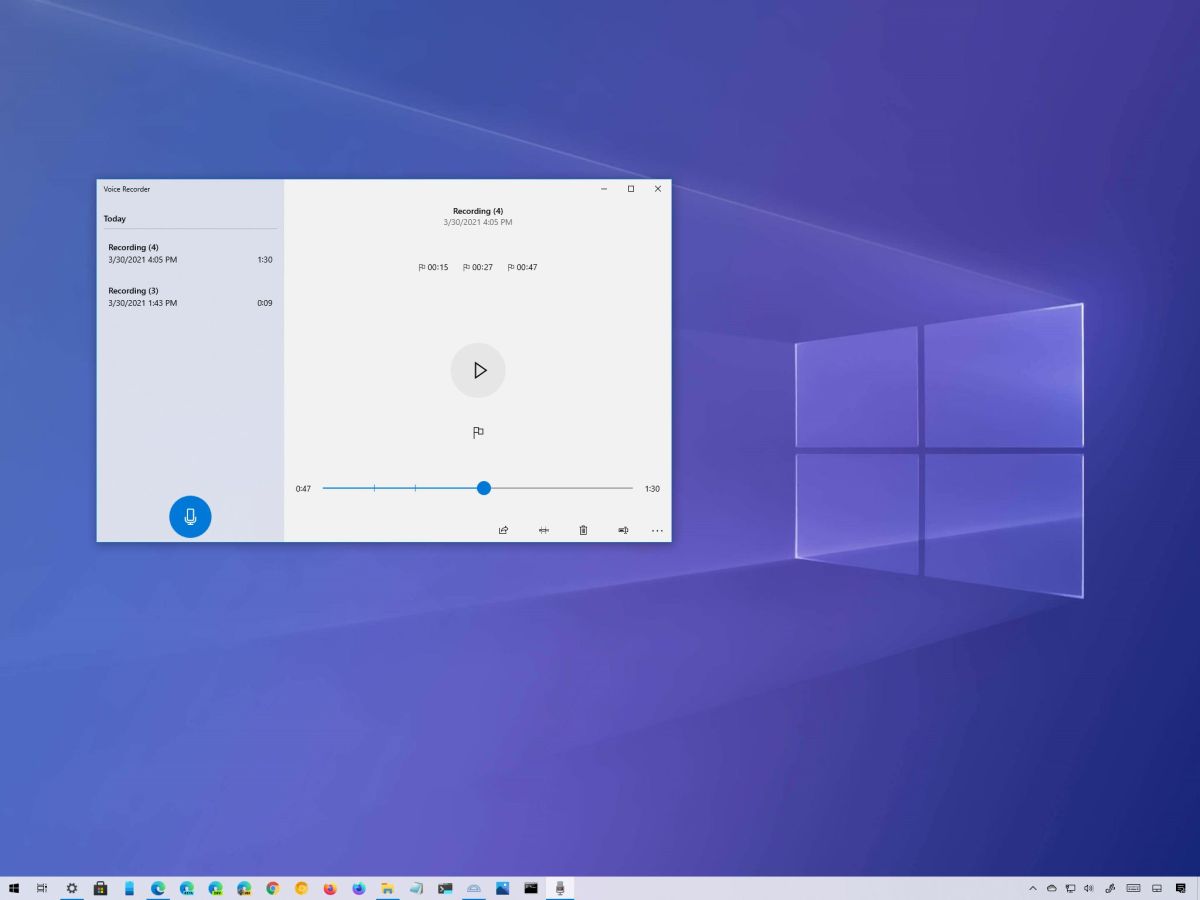
To record audio on Windows 10, you can use the Voice Recorder app. Here’s how:
- Open the Voice Recorder app from the Start menu.
- Click on the Record button to start recording.
- When you are done recording, click on the Stop button.
- Your recording will be saved to the Voice Recorder app.
Recording Audio On Windows 10
Windows 10 offers a wide range of options for recording audio. From built-in tools to third-party applications, recording audio on Windows 10 is simple and easy. This guide will provide a detailed overview of how to record audio on Windows 10.
Using The Built-In Windows 10 Audio Recorder
The Windows 10 audio recorder is a built-in application that allows you to record audio from any source connected to your computer. This includes microphone, line-in, and even streamed audio. To use the Windows 10 audio recorder, simply open up the Start Menu and search for “Recording”. This will open up the audio recorder application. From here, you can select the audio source that you want to record and then hit the record button.
Once the recording is complete, you can save the audio file to your computer. The Windows 10 audio recorder also offers additional features such as volume control, audio effects, and more. Additionally, you can use the audio recorder to record multiple audio sources at the same time.
Using Third-Party Audio Recording Software
In addition to the built-in Windows 10 audio recorder, there are also a number of third-party audio recording applications available. These applications offer a more advanced set of features and are often more suited to professional audio recording. Popular third-party audio recording applications include Audacity and Adobe Audition.
To use a third-party audio recording application, you will need to download the program and install it on your computer. Once installed, the application should be easy to use and will allow you to record audio from any source connected to your computer.
Using An External Audio Recorder
For those looking for a more professional recording solution, it is possible to use an external audio recorder. These devices are often more expensive than the built-in Windows 10 audio recorder but offer a more robust set of features. External audio recorders are typically used by professional musicians and sound engineers to record high-quality audio.
Using An External Microphone
When using an external audio recorder, it is important to ensure that you are using a high-quality microphone. This is especially important if you are recording vocals or instruments. A good quality microphone will ensure that the audio is clear and free from any unwanted noise.
Setting Up The Audio Recorder
Once you have an external audio recorder and microphone, you will need to set up the device before you can begin recording. This typically involves connecting the microphone to the audio recorder and then setting the correct input level. Additionally, you will need to ensure that the audio recorder is connected to your computer.
Using Online Audio Recording Services
For those who don’t have access to an audio recorder or microphone, there are also a number of online audio recording services available. These services allow you to record audio directly from your computer’s microphone. Popular online audio recording services include SoundCloud and Splice.
Setting Up The Online Audio Recorder
When using an online audio recording service, you will need to set up the service before you can begin recording. This typically involves signing up for an account and then downloading the necessary software. Once the software is installed, you will be able to record audio directly from your computer’s microphone.
Saving The Audio File
Once you have finished recording, you will need to save the audio file. Most online audio recording services will allow you to save the audio file directly to your computer or to an online storage service such as Dropbox or Google Drive. Additionally, you can also share the audio file with other users or upload it to a streaming service such as YouTube or SoundCloud.
Related FAQ
Q1. How do I record audio in Windows 10?
A1. To record audio in Windows 10, you will need to first open the Windows 10 Voice Recorder app. You can find this app by opening the Start Menu and searching for “Voice Recorder”. Once the app is open, you will need to hit the “Record” button to begin recording audio. When you’re finished, hit the “Stop” button to save the audio recording. You can then find the audio file in the “Voice Recorder” folder in the “File Explorer”.
Q2. What type of audio files can I record with Windows 10?
A2. Windows 10 Voice Recorder can record audio in .m4a, .mp3 and .wav formats. You can choose which format you would like to save the audio in by going to the “Settings” tab in the app. You can also adjust the recording quality and input device settings in the “Settings” tab.
Q3. Is there a limit to how much audio I can record?
A3. No, there is no limit to how much audio you can record with Windows 10 Voice Recorder. However, the maximum file size for each audio recording is 2GB. To avoid reaching the maximum file size, you can set the recording quality to a lower setting in the “Settings” tab of the app.
Q4. Can I edit the audio recordings I make?
A4. Yes, you can edit the audio recordings you make with Windows 10 Voice Recorder. Once you have saved the audio file to your computer, you can open it with Windows 10’s built-in audio editor. This editor allows you to trim, split, and apply various audio effects to the recording.
Q5. Can I share my audio recordings?
A5. Yes, you can share your audio recordings with others. Once you have saved the audio file to your computer, you can upload it to a cloud storage service like Dropbox or Google Drive. You can then share the link to the audio file with others.
Q6. Is there a way to record audio from my microphone?
A6. Yes, you can record audio from your microphone with Windows 10 Voice Recorder. To do this, you will need to open the app and go to the “Settings” tab. In the “Settings” tab, you can select your microphone as the input device. Once you have selected your microphone, you can hit the “Record” button to start recording audio from your microphone.
How to Record Voice on Windows 10
Recording audio on Windows 10 is an easy task to accomplish and can be done using any of the methods outlined in this article. With a few simple steps, you can easily record audio on your Windows 10 device without having to buy additional software or hardware. Whether you are recording a podcast episode or creating a video, you are now equipped with the skills to get the job done quickly and easily.