


How to Screen Record on Dell Laptop Windows 10?

If you are looking for an easy way to record your screen on your Dell laptop that runs on Windows 10, then you have come to the right place. In this article, we will provide you with step-by-step instructions on how to screen record on Dell laptop Windows 10. We will cover everything from the basics of screen recording to more advanced features. We will also discuss the best methods to use to ensure quality recordings. By the end of this article, you should have a comprehensive understanding of how to screen record on your Dell laptop running Windows 10. So, let’s get right to it!
- Step 1: Open the start menu and search for “Xbox Game Bar” and launch it.
- Step 2: Click on the “Start Recording” button to start recording.
- Step 3: Once you are done recording, click the “Stop Recording” button.
- Step 4: You can find the recorded video in the “Videos” folder in your “This PC”.
Alternatively, you can also use third-party software such as OBS Studio, Bandicam, or Screencast-O-Matic to record your screen.
How to Record Your Screen on a Dell Laptop with Windows 10
Screen recording is a great way to capture what’s happening on your Dell laptop’s screen or to produce tutorials or videos for your own use or for sharing with others. Windows 10 makes recording your screen easy, with the built-in Game Bar app.
Enabling Screen Recording
Before you can start recording your screen on your Dell laptop, you need to make sure that the Game Bar is enabled. You can do this by searching for the Xbox app in the Windows 10 start menu, then selecting ‘Game Bar Settings’ and making sure that the ‘Record game clips, screenshots, and broadcast using Game Bar’ option is enabled.
You should also make sure that the ‘Open Game Bar using this button on a controller’ option is enabled. This will allow you to open the Game Bar with a controller, if you have one connected.
Opening the Game Bar
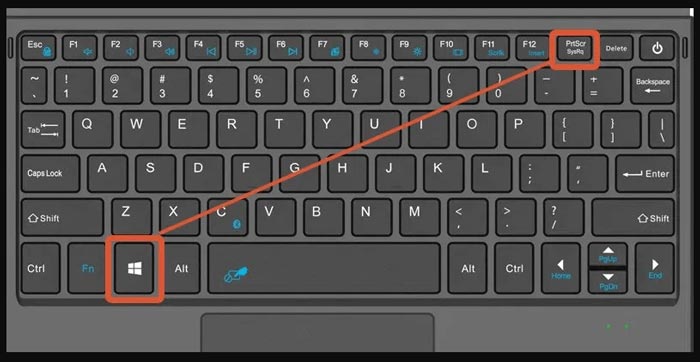
Once the Game Bar is enabled, you can open it by pressing the Windows key + G on your keyboard. You should see a small window with several options, including the option to record your screen. If you have a controller connected to your laptop, you can open the Game Bar by pressing the Xbox button on the controller.
Recording Your Screen
Once the Game Bar is open, you can start recording your screen by selecting the ‘Start Recording’ option. You can select the quality of the recording, and you can also choose whether or not to include audio in the recording.
Once you’re done recording, you can stop the recording by selecting the ‘Stop Recording’ option in the Game Bar. Your recording will be saved in the ‘Videos’ folder in the ‘This PC’ section of the Windows 10 file explorer.
Editing Your Recording
If you want to make any changes to your recording, you can do so using Windows 10’s built-in video editor. To open the video editor, simply right-click on the recording in the ‘Videos’ folder and select ‘Edit with Photos’.
The video editor allows you to trim your recording, change its speed, apply filters, add text and more. Once you’re done editing, you can save the edited version of your recording in the same ‘Videos’ folder.
Sharing Your Recording
Once you’re done recording and editing your screen recording, you can share it with others by selecting the ‘Share’ option in the Game Bar. This will open the Windows 10 share dialog, where you can choose how you want to share the recording, such as via email or social media.
Top 6 Frequently Asked Questions
Q1. How do I record my screen on a Dell laptop with Windows 10?
Answer: To record your screen on a Dell laptop with Windows 10, you can use the Windows 10 Game Bar. To access the Game Bar, press the Windows key + G. You can then click on the “Start recording” button to begin recording your screen. You can also use third-party software such as OBS Studio or Bandicam to record your screen.
Q2. How do I access the Windows 10 Game Bar?
Answer: To access the Windows 10 Game Bar, press the Windows key + G. This will open the Game Bar, which you can then use to record your screen. The Game Bar can also be accessed from the Start menu in Windows 10.
Q3. How do I record audio in my screen recordings?
Answer: To record audio as part of your screen recordings, you will need to use third-party software such as OBS Studio or Bandicam. These programs allow you to record your computer’s audio as well as the audio from any external devices such as microphones. You can also use the Windows 10 Game Bar to record audio, though the audio quality may not be as good as with third-party software.
Q4. How do I access the settings for the Windows 10 Game Bar?
Answer: To access the settings for the Windows 10 Game Bar, press the Windows key + G and click on the “Settings” button. This will open up the settings menu, where you can adjust the settings for the Game Bar such as the capture resolution, frame rate, and audio settings.
Q5. Can I record multiple screens on my Dell laptop?
Answer: Yes, you can record multiple screens on a Dell laptop with Windows 10. To do this, you will need to use third-party software such as OBS Studio or Bandicam. These programs allow you to capture multiple screens at once and record them as part of a single recording.
Q6. Is there a limit to how long I can record my screen?
Answer: The length of your screen recordings will depend on the software you are using. With the Windows 10 Game Bar, you can record up to 4 hours of screen activity. With third-party software such as OBS Studio or Bandicam, there is no limit to how long you can record, as long as you have enough storage space.
How to Screen Record on Windows 10
Screen recording on a Dell laptop running Windows 10 is an easy and efficient way to capture video of your desktop activities. With just a few clicks, you can capture high-quality video of your desktop and share it with family, friends, or colleagues. Whether you’re capturing a video tutorial or recording a live presentation, this quick guide will show you how to get the most out of your Dell laptop’s screen recording capabilities so you can get the results you need.