How to Use Excel on Ipad?
Are you interested in learning how to use Excel on your iPad? If so, you’ve come to the right place! In this article, we’ll go over the basics of Excel, how to set it up on your iPad, and how to use it to its fullest potential. Whether you’re a beginner or an expert, you’ll find the information you need to get the most out of your iPad and Excel. So let’s get started!
- Open the App Store and search for “Microsoft Office”.
- Tap “Get”, then tap “Install” to install the app.
- Open the Microsoft Office app and log in with your Microsoft account.
- Tap “Excel” to open the Excel app.
- Tap “Create” to create a new spreadsheet, or “Open” to open an existing spreadsheet.
- Enter and edit data using the app’s features.
- Create formulas and format your data.
- Share your spreadsheet with others and collaborate on projects.
How to Get Started with Excel on iPad?
Excel is one of the most popular spreadsheet applications used in the world today. It’s powerful, versatile, and has a wide range of features that make it perfect for data analysis and manipulation. If you’re an iPad user, you can use the Microsoft Excel app to view, create, and edit Excel spreadsheets on your device. Here’s how to get started.
First, you’ll need to download the Microsoft Excel app from the App Store. Once it’s installed, you’ll be able to open and manage existing Excel spreadsheets as well as create new ones. You can also use the app to access OneDrive, where you can store your files and data securely.
The Excel app has been designed to work with Apple’s touch interface, so you can make use of its features with just your fingertips. To create a new spreadsheet, simply tap the “+” icon in the top-right corner of the app. From there, you can select a template or start from scratch.
Entering Data in Excel on iPad
Once you’ve created a spreadsheet, you can start entering data into it. You can type directly into the cells, or you can tap the arrow icon to the right of the cell to bring up a menu that lets you enter data in a variety of ways. You can also drag your finger across multiple cells to select them, and then enter data into them all at once.
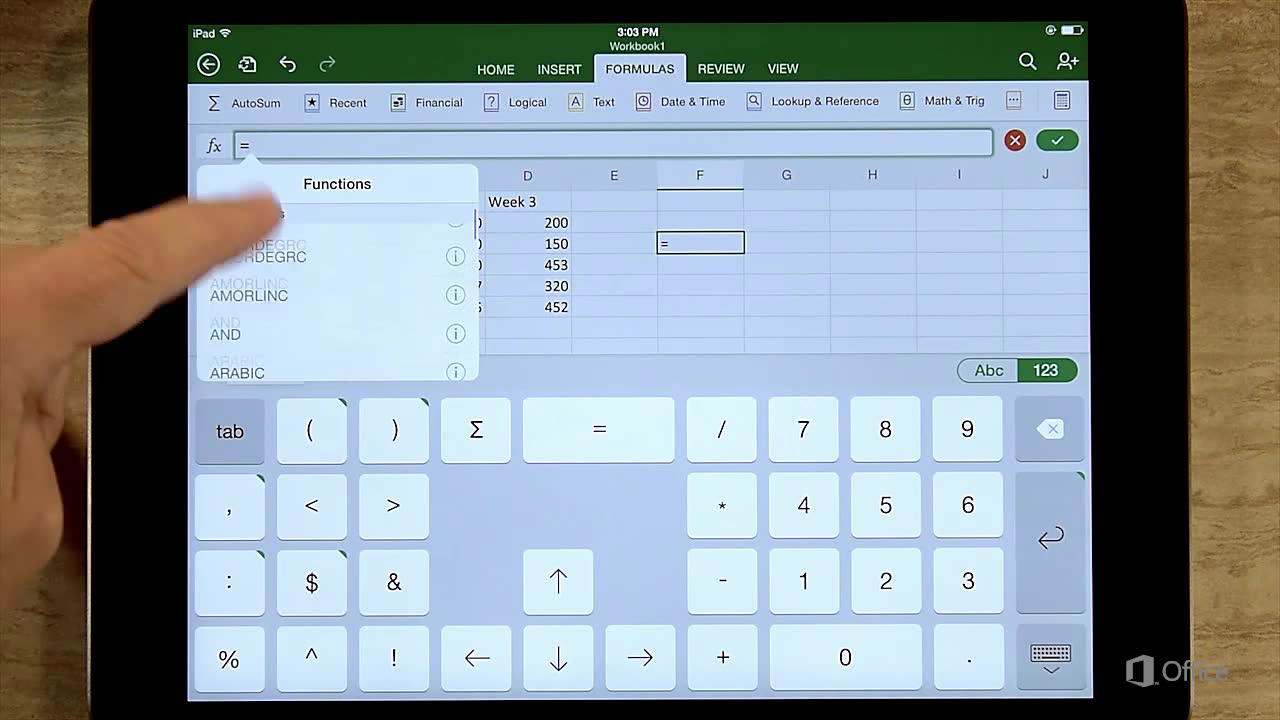
You can also use the “formulas” option to quickly calculate the sum, average, or other operations on a range of cells. To do this, select the cells you want to use in your formula and then tap the “formulas” icon in the top-right corner of the app. From there, you can choose the operation you want to perform.
Organizing Data with Excel on iPad
Once you’ve entered your data into the spreadsheet, you can organize it in a variety of ways. You can sort, filter, and group your data to quickly find the information you need. To do this, tap the “sort & filter” icon in the top-right corner of the app. From there, you can choose how you want to organize your data.
You can also use the “freeze panes” feature to keep certain rows or columns visible as you scroll through your spreadsheet. To use this feature, tap the “freeze panes” icon in the top-right corner of the app and select the rows or columns you want to keep visible.
Visualizing Data with Excel on iPad
You can also use the Excel app to visualize your data with charts and graphs. To do this, select the data you want to use in your chart and then tap the “insert chart” icon in the top-right corner of the app. From there, you can choose which type of chart you want to use and then customize it to fit your needs.
You can also use the “sparklines” feature to quickly visualize a range of cells. To do this, select the cells you want to use and then tap the “sparklines” icon in the top-right corner of the app. From there, you can choose which type of sparkline you want to use and customize it accordingly.
Sharing and Printing Excel Files on iPad
Once you’ve created and edited your spreadsheet, you can share it with others or print it out. To share your spreadsheet, simply tap the “share” icon in the top-right corner of the app and select how you want to send it. You can also export your spreadsheet as a PDF or an Excel file.
To print your spreadsheet, tap the “print” icon in the top-right corner of the app and select your printer. You can also use AirPrint to print wirelessly from your iPad. Once you’ve selected your printer, you can select the pages you want to print and then tap “print” to send your spreadsheet to the printer.
Top 6 Frequently Asked Questions
Excel on iPad is a great tool for anyone looking to make their work easier and faster. With its easy-to-use interface, intuitive drag and drop capabilities, and powerful formulas, it offers an invaluable aid to anyone looking to get the most out of their iPad. Whether you’re an experienced Excel user or just getting started, the iPad app offers a great way to get more out of your device. With a little practice and experimentation, you’ll be creating spreadsheets and manipulating data in no time. So, don’t wait, get started today and take advantage of Excel’s powerful tools on your iPad.


