


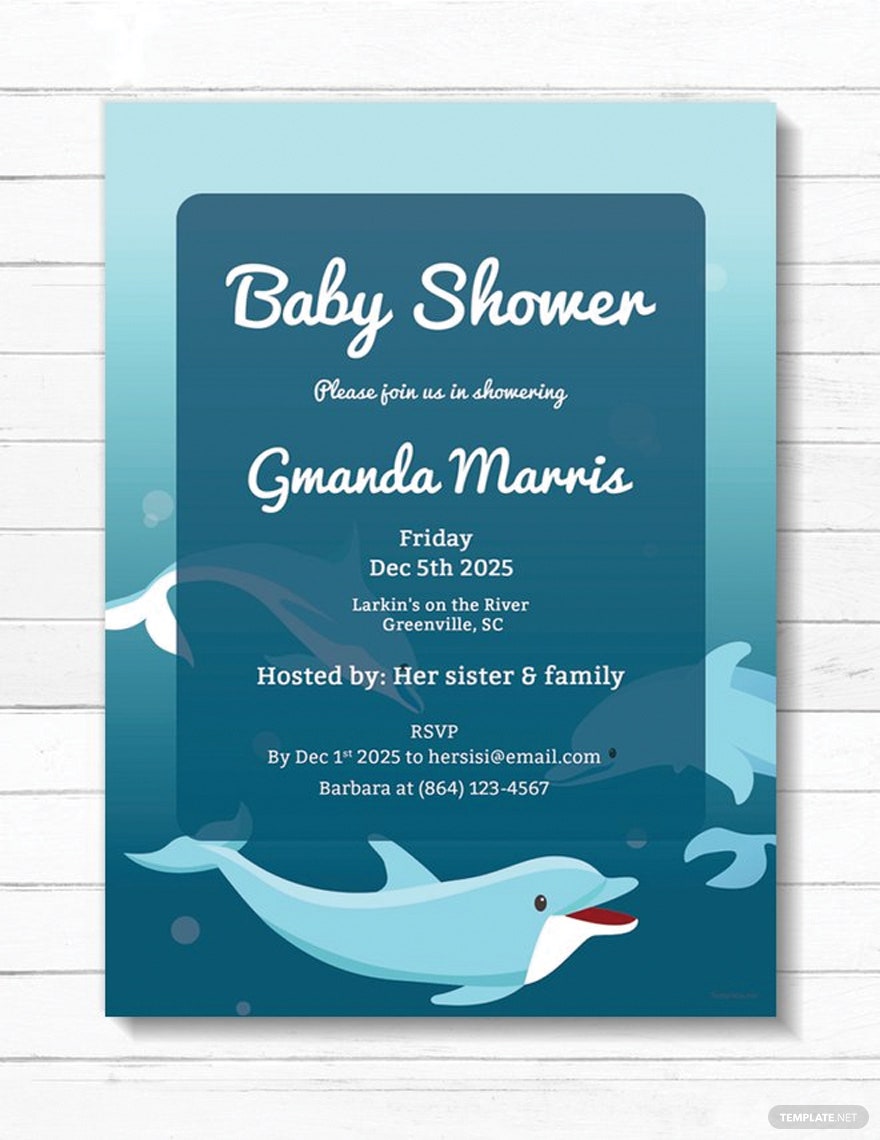
How to Make Baby Shower Invitations on Microsoft Publisher?

Are you looking for a creative, cost-effective way to make your own baby shower invitations? Microsoft Publisher is the perfect tool for creating custom invitations for your special occasion. In this guide, we’ll walk you through the steps of making baby shower invitations on Microsoft Publisher, so you can easily create the perfect cards for your event. Read on to learn all the tips and tricks for making the perfect baby shower invitations on Microsoft Publisher.
Making Baby Shower Invitations on Microsoft Publisher
- Open Microsoft Publisher and choose the “Invitations” category.
- Select a template and customize the text, colors, and images.
- Once you are happy with the design, add the list of guests and their addresses.
- Print the invitations on cardstock.
Making Baby Shower Invitations with Microsoft Publisher
Creating a personalized baby shower invitation can be a fun and special way to welcome a new bundle of joy. Microsoft Publisher is a popular program used to create invitations and other documents. With a few clicks, you can easily create a beautiful and unique invitation for the special day.
To get started, open Microsoft Publisher and select the “Invitations” category from the home screen. You can then select a style for your invitation from the list of templates. Once you have chosen a template, you can customize the look and feel of the invitation by changing the font, background color, and other details. You can also add images or clip art to the invitation to give it a more personalized touch.
Once you have the design of the invitation finalized, you will need to add the information about the baby shower. This includes the date, time, location, and any other pertinent details. Make sure to include the RSVP information so that your guests can respond in a timely manner. Once you have added all of the necessary information, you can save the invitation as a PDF file or print it out.
Personalizing Baby Shower Invitations with Microsoft Publisher
After you have chosen a template and added the necessary information, you can then begin to personalize the invitation with Microsoft Publisher. This includes adding photos, adding text, and making other design changes. You can also add clip art or other graphics to give the invitation a more personal touch.
If you are adding photos to the invitation, make sure to choose high-quality images that will look good when printed. Once you have added the photos, you can add text to the invitation to provide additional details about the baby shower. You can also customize the text by changing the font, font size, and color.
In addition to photos and text, you can also add other design elements to the invitation. You can add borders, frames, and other images to give the invitation a more polished look. You can also add text boxes to provide extra space for adding information.
Printing Baby Shower Invitations with Microsoft Publisher
Once you have finished customizing the invitation, you can then print it out. Microsoft Publisher includes a few different printing options. You can print two invitations per page to save on paper, or you can print out a single invitation on a larger sheet of paper. You can also print the invitation in color or black and white, depending on your preference.
Once you have printed the invitation, you can then cut it out and assemble it. Most invitations include instructions for assembly, so make sure to follow these instructions. You can also add embellishments such as ribbons, bows, and other decorations to make the invitation even more special.
Creating Envelopes for Baby Shower Invitations
Once you have printed and assembled the invitations, you will need to create envelopes to put them in. Microsoft Publisher includes a few different templates for creating envelopes. You can choose the size and style of the envelope to match the invitation and your own personal style.
Once you have chosen a template, you can personalize the envelope by adding a design or image. This will make the envelope more unique and special. You can also add text to the envelope to provide the mailing address for the recipient. Once you have finished customizing the envelope, you can print it out and assemble it.
Sending Baby Shower Invitations with Microsoft Publisher
Once you have printed and assembled the invitations and envelopes, you can then send them out. Microsoft Publisher includes a few different options for sending out invitations. You can either print out the invitation and include a return address, or you can email the invitation to your guests.
If you choose to email the invitation, make sure to include the recipient’s email address correctly. Also, make sure to include an RSVP address so that your guests can easily respond. You can also set up an automated response to collect the RSVPs, which can make the process much easier.
Once you have sent out the invitations, you can then wait for your guests to respond. With Microsoft Publisher, you can easily create beautiful and unique baby shower invitations that will make the special day even more special.
Related Faq
What is Microsoft Publisher?
Microsoft Publisher is a desktop publishing and design program that is part of the Microsoft Office Suite. It allows users to create professional-looking publications with a wide range of design tools and templates. With Microsoft Publisher, you can create documents such as newsletters, postcards, flyers, and invitations.
What Supplies Do I Need to Make Baby Shower Invitations on Microsoft Publisher?
To make baby shower invitations on Microsoft Publisher, you will need a computer with the Microsoft Publisher program installed, an inkjet or laser printer, cardstock, and a few other supplies such as scissors and/or a paper cutter. You may also want to have some embellishments such as ribbon and stickers to add a personal touch.
How Do I Get Started Making Baby Shower Invitations on Microsoft Publisher?
To get started making baby shower invitations on Microsoft Publisher, the first thing you need to do is open the program and select the “Publications for Print” tab. From there, you can choose from a variety of templates for your project. Once you have selected a template, you can customize your invitation with text, images, and other design elements.
How Do I Add Text and Images to My Baby Shower Invitations?
Adding text and images to your baby shower invitations is easy with Microsoft Publisher. To add text, simply select the “Text Box” tool and type in the desired text. To add an image, select the “Picture” tool, choose the desired image, and drag and drop it onto your invitation.
How Do I Print My Baby Shower Invitations?
Once you have finished designing your baby shower invitations, you can print them using either an inkjet or laser printer. Make sure to print a test copy first to check for any errors. Once you are satisfied with the results, you can print your final invitations.
What Are Some Tips for Making Baby Shower Invitations on Microsoft Publisher?
When making baby shower invitations on Microsoft Publisher, it is important to keep a few things in mind. First, make sure to use high-quality images and graphics to ensure that your invitations look professional. Second, keep your design elements consistent with the theme of the shower. Finally, make sure to proofread your text before printing to avoid any mistakes.
Creating baby shower invitations on Microsoft Publisher is a great way to personalize your upcoming celebration. You can design the invitations to match the baby shower’s theme and add special touches like photos and personalized messages. With just a few clicks, you can create unique, professional-looking invitations that will make your baby shower event even more special. So don’t be afraid to take the plunge and show off your creative side!