


How to Setup a Microsoft Exchange Account on Android?

Are you an Android user looking to set up a Microsoft Exchange account on your device? Setting up a Microsoft Exchange account on Android is an easy process that can save you time and effort when managing your emails. In this guide, we will walk you through the simple steps to successfully set up a Microsoft Exchange account on your Android device. From choosing the right settings to understanding the security protocols, we’ll make sure you have the information you need to get up and running. Let’s get started!
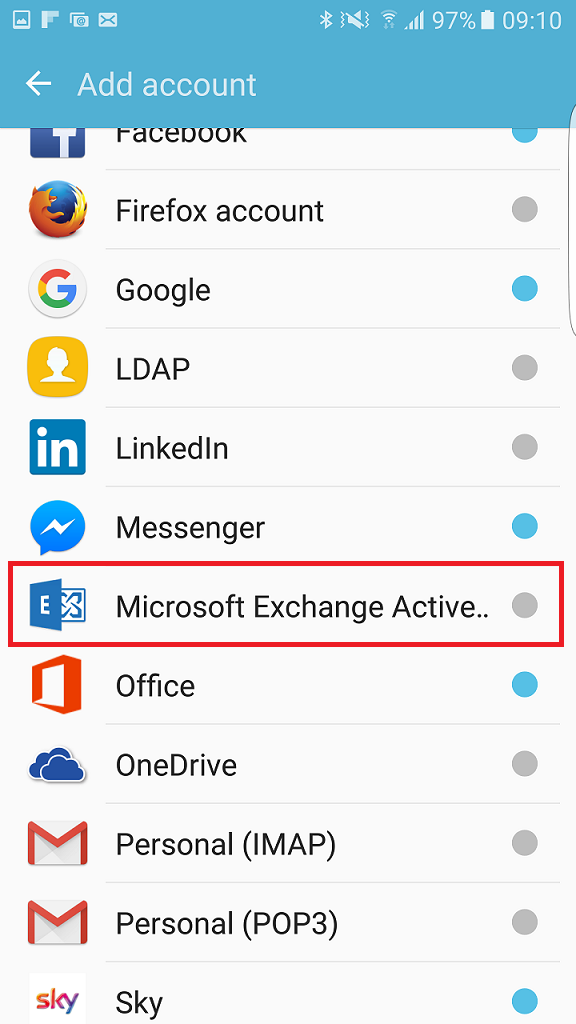
Setting up a Microsoft Exchange Account on Android is easy. Here’s how:
- Open the Settings app on your Android device.
- Tap Accounts or Users & Accounts.
- Select Add Account.
- Select Exchange.
- Enter your email address and password.
- Tap Next. Some devices will require the server address. If so, enter “outlook.office365.com”.
- Tap Next. You will be prompted to select the type of data you want to sync. Select your preferences.
- Tap Done. Your Microsoft Exchange Account is now set up on your Android device.
Setting Up a Microsoft Exchange Account on Android
Exchange accounts are among the most popular email services available for computers and mobile devices. Setting up an Exchange account on Android is easy and straightforward, allowing users to get started quickly and easily. This guide will walk you through the process of setting up a Microsoft Exchange account on an Android device.
Step 1: Access the Settings Menu
The first step in setting up an Exchange account on Android is to access the device’s settings menu. To do this, swipe down on the home screen to open the notifications panel, then tap the gear icon to open the settings menu.
Step 2: Select Accounts
Once the settings menu has been opened, select the “Accounts” option. This will open a list of all the accounts that have been added to the device. Tap the “Add Account” option to begin the process of setting up a new Exchange account.
Step 3: Choose Exchange
On the next screen, select the “Exchange” option. This will open a form that will prompt the user to enter their Exchange account information, including their email address, password, and server address. Once this information has been entered, tap “Next” to continue.
Step 4: Verify Account Information
On the next screen, the device will verify the Exchange account information that was entered. If the information is correct, tap “OK” to continue.
Step 5: Set Sync Options
The next screen will allow the user to set the sync options for their Exchange account. This includes how often the account will sync and which types of data will be synced. These settings can be adjusted to suit the user’s needs. Once the desired options have been selected, tap “Next” to continue.
Step 6: Verify Account Settings
The final step in setting up an Exchange account on Android is to verify the account settings. On the next screen, the user will be presented with a summary of the account settings. If everything looks correct, tap “OK” to finish the setup process.
Step 7: Access Exchange Account
Once the setup process has been completed, the Exchange account can be accessed from the device’s home screen. Simply tap the Exchange icon to open the account and begin sending and receiving emails.
Top 6 Frequently Asked Questions
What is a Microsoft Exchange Account?
A Microsoft Exchange Account is an email account that uses Microsoft Exchange Server to send and receive emails. Microsoft Exchange Server is a powerful messaging platform that provides secure and reliable email services. It also provides calendar synchronization, task management, and contact management features. It is used by many businesses and organizations to manage their communication needs.
What are the Benefits of Setting Up a Microsoft Exchange Account?
Setting up a Microsoft Exchange Account on an Android device has many advantages. It allows users to easily access their emails, contacts, and calendars. It also provides a secure connection to the Exchange Server, ensuring that all data is kept safe and secure. In addition, users can sync their emails, contacts, and calendar events across multiple devices.
How to Set Up a Microsoft Exchange Account on Android?
Setting up a Microsoft Exchange Account on Android is simple and straightforward. First, open the Settings app on your device and select the “Accounts & Sync” option. Next, tap the “Add Account” button and select the “Microsoft Exchange” option. Then, enter your email address and password, and select the “Manual Setup” option. Finally, enter the Exchange server address and port number, then tap the “Next” button to finish the setup process.
What Information is Needed to Setup a Microsoft Exchange Account?
To setup a Microsoft Exchange Account on an Android device, you will need your email address, password, and the Exchange server address and port number. The Exchange server address and port number can be obtained from your IT administrator or email provider.
Are There Any Security Risks Involved with Setting Up a Microsoft Exchange Account?
Yes, there are security risks involved with setting up a Microsoft Exchange Account on an Android device. It is important to ensure that your device is secure and that your data is encrypted. Additionally, it is important to use a strong and unique password to protect your account from being compromised.
What Other Features Does Microsoft Exchange Provide?
Microsoft Exchange provides many features in addition to email synchronization. It allows users to manage their contacts, tasks, and calendars. It also provides the ability to share documents, images, and files with other users. Additionally, it allows users to access their emails, even when they are not connected to the internet. Finally, it provides enhanced security and reliability, which is important for business users.
Whether you’re looking to stay connected while you’re on the go or to access important emails quickly, setting up a Microsoft Exchange account on your Android device is a great way to stay organized and efficient. With a few simple steps and a few minutes of your time, you can have your Microsoft Exchange account up and running in no time. With the right setup and configuration, you can maximize your productivity and access your data anytime you need it.