


How to Install Microsoft Azure?

If you’re looking to take advantage of the cloud-based services offered by Microsoft Azure, you’ve come to the right place. In this article, we’ll give you a step-by-step guide on how to install Microsoft Azure so you can start taking advantage of its features and benefits. We’ll cover the different installation methods, what hardware requirements you’ll need to meet, and provide helpful tips and resources to ensure a successful installation. So, let’s get started and learn how to install Microsoft Azure!
Steps to Install Microsoft Azure:
- Create a Microsoft Account or use an existing one.
- Go to the Microsoft Azure page.
- Sign in with your account.
- Select the Azure plan that best suits your needs.
- Set up your payment information.
- Confirm your subscription.
- Create an Azure resource group.
- Create an Azure storage account.
- Create an Azure virtual machine.
- Install the application and other software.
Steps to Install Microsoft Azure
Microsoft Azure is a cloud computing service created by Microsoft for building, testing, deploying, and managing applications and services through Microsoft-managed data centers. It provides software as a service (SaaS), platform as a service (PaaS) and infrastructure as a service (IaaS) and supports many different programming languages, tools, and frameworks, including both Microsoft-specific and third-party software and systems. Installing Microsoft Azure is a straightforward process.
Step 1: Register for a Microsoft Azure Account
The first step in installing Microsoft Azure is to register for an account. This is a simple process and requires a valid email address and credit card information. Once registered, you will be able to access the Microsoft Azure Portal, which is the main interface for managing your Azure resources.
Step 2: Configure Your Azure Subscription
Once you have registered for an account, you will need to configure your Azure subscription. This includes setting up billing information, selecting the type of subscription you want to use, and setting up any other features you may need.
Step 3: Create an Azure Resource Group
The next step in installing Microsoft Azure is to create an Azure resource group. This is a logical grouping of resources in your Azure subscription that you can use to manage and deploy Azure services. You can create multiple resource groups and assign different services to them.
Step 4: Create an Azure Storage Account
An Azure storage account is a secure place to store your data and files. You will need to create an Azure storage account if you plan to use Azure services. This can be done easily through the Azure Portal.
Step 5: Deploy Your Resources
Once you have set up your subscription, resource group, and storage account, you can start deploying resources. This includes deploying virtual machines, web apps, databases, and more. You can easily do this through the Azure Portal.
Step 6: Monitor and Manage Your Resources
The final step in installing Microsoft Azure is to monitor and manage your resources. This includes setting up alerts, scaling up and down resources, and keeping track of resource usage and costs. You can use the Azure Portal to monitor and manage your resources.
Related Faq
What is Microsoft Azure?
Microsoft Azure is a cloud computing platform and infrastructure, created by Microsoft, for building, deploying and managing applications and services through a global network of Microsoft-managed data centers. It provides software as a service (SaaS), platform as a service (PaaS) and infrastructure as a service (IaaS) and supports many different programming languages, tools and frameworks, including both Microsoft-specific and third-party software and systems.
How do I get Started with Microsoft Azure?
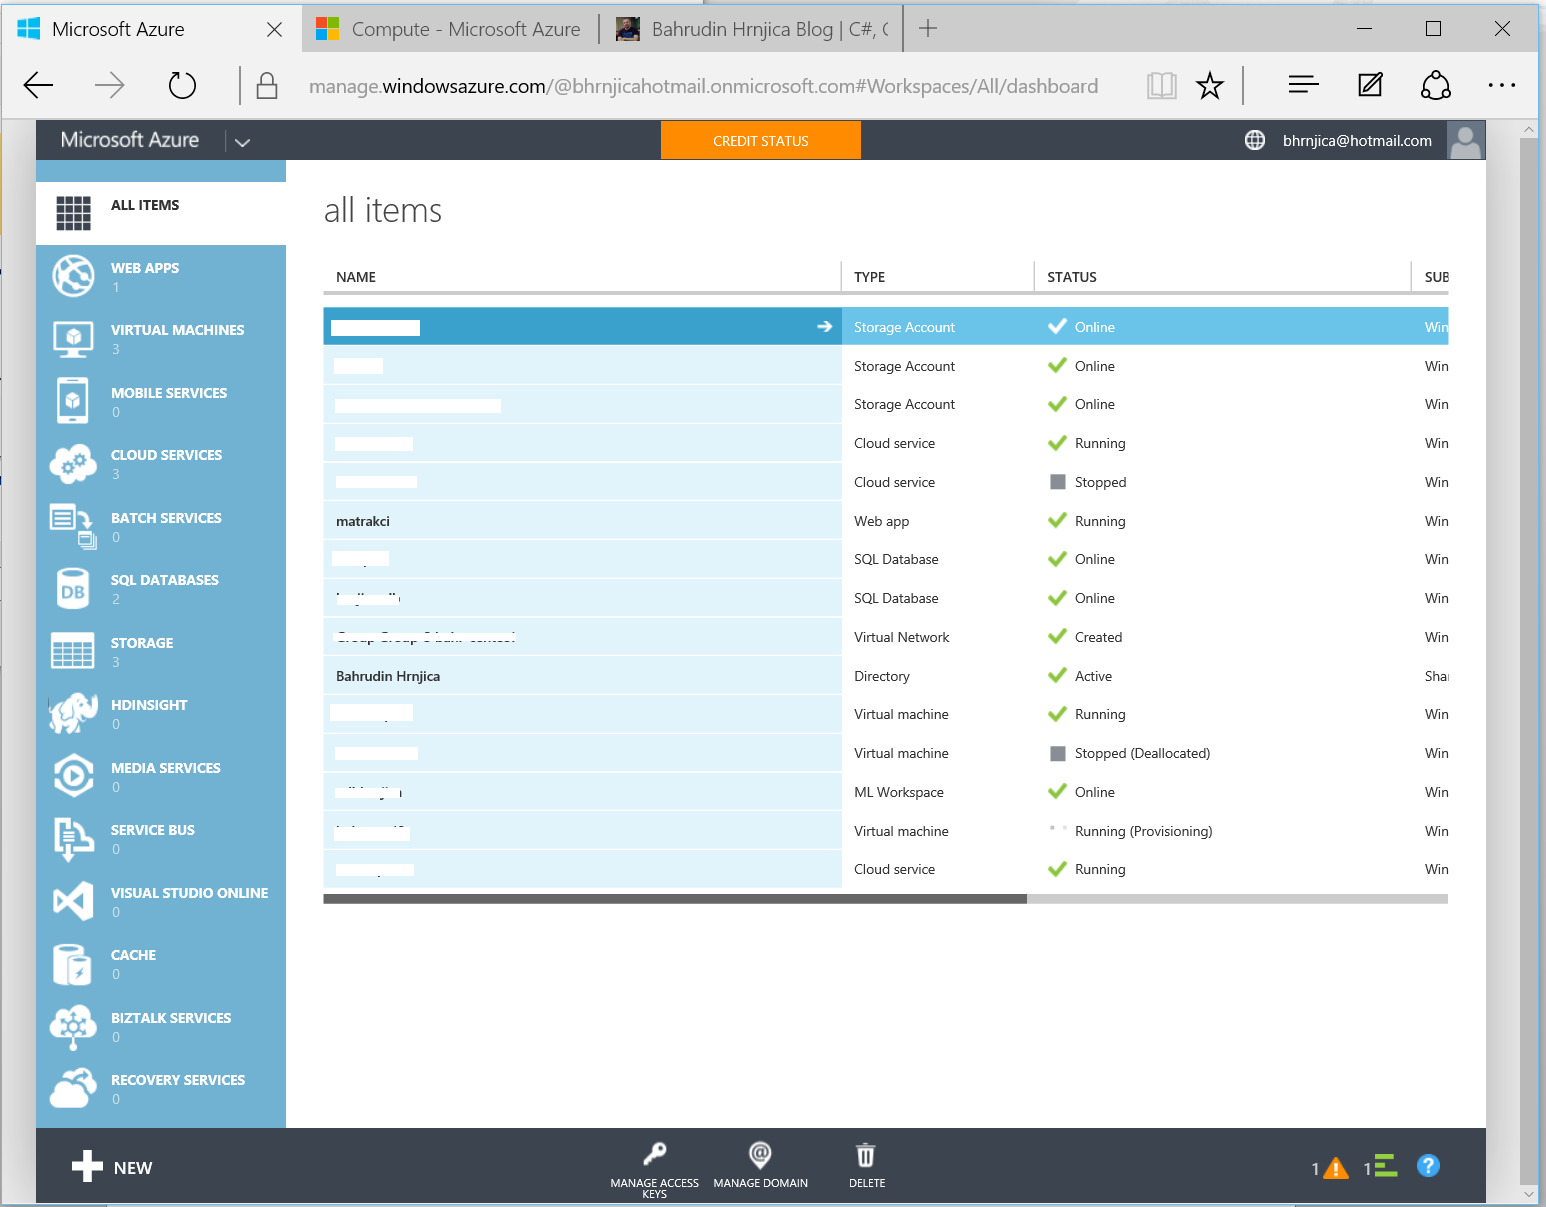
Getting started with Microsoft Azure is straightforward and easy. The first step is to create an account on the Microsoft Azure Portal. After signing in, you will be presented with a dashboard that allows you to manage your resources and services. Once your account is created, you can begin creating virtual machines, web apps, databases and other services. Additionally, you can purchase additional services such as storage, analytics, and networking.
How do I Install Microsoft Azure?
Installing Microsoft Azure is simple and straightforward. There are two methods for installing Azure. The first is to use the web-based installer, which is available from the Azure Portal. The second is to use the Azure Command-line Interface (CLI), which is an open-source command-line interface for managing Azure resources. Both methods will install the Azure components and services on your machine.
What are the Requirements to Install Microsoft Azure?
The prerequisites for installing Microsoft Azure depend on the type of installation you are performing. If you are using the web-based installer, you will need an active internet connection and a valid Microsoft account. If you are using the Azure CLI, you will need an active internet connection and the Azure CLI installed on your machine. Additionally, you will need to have administrative privileges on your machine in order to successfully install Azure components.
What are the Benefits of Installing Microsoft Azure?
Installing Microsoft Azure provides a number of benefits. By installing Azure, you have access to cloud-based services such as storage, databases, virtual networks, analytics, and more. Additionally, you can use Azure to build, deploy, and manage applications and services on a global network of Microsoft-managed data centers. Additionally, Azure provides a secure and reliable platform for applications and services, which is essential for businesses and organizations.
What are the Steps for Installing Microsoft Azure?
The steps for installing Microsoft Azure depend on the type of installation you are performing. If you are using the web-based installer, the steps are as follows:
1. Visit the Azure Portal and create a new account.
2. Sign in to the Azure Portal and begin the installation.
3. Choose the type of installation you want to perform.
4. Follow the instructions and wait for the installation to complete.
If you are using the Azure CLI, the steps are as follows:
1. Install the Azure CLI on your machine.
2. Open the command line and sign in to the Azure Portal.
3. Choose the type of installation you want to perform.
4. Follow the instructions and wait for the installation to complete.
Azure Installation Windows Server 2019
Congratulations! You have successfully installed Microsoft Azure on your computer. You can now explore this amazing cloud computing platform and the various tools and services offered with it. With Microsoft Azure, you can create, deploy and manage applications and services, store and access data in the cloud, and gain a competitive edge in the market. With Azure, you can create a secure, scalable and cost-effective cloud computing environment that will meet all of your company’s needs. Get started today and unlock the power of cloud computing with Microsoft Azure!